Frequently Asked Questions
Get clear answers to the most frequently asked questions about cable railing systems. From basics to terminology to application suggestions and regulations.
What are the pros and cons of cable railing systems?
Pros:
- Sleek, modern aesthetic.
- Unobstructed views.
- Durable and low maintenance.
- Versatile for indoor/outdoor use.
Cons:
- Higher upfront cost.
- Requires precise installation.
- Regular tension maintenance is necessary.
- Open design may pose a climbing risk for children.
How do I know which cable railing kit suits my desired application?
Depending on which type of application you desire to use, the cable railing kit will ultimately determine which is ideal for you. If you want to install cable railing in pitched applications, you would need one that specifies that it can be used with such applications. The same also goes for level applications.
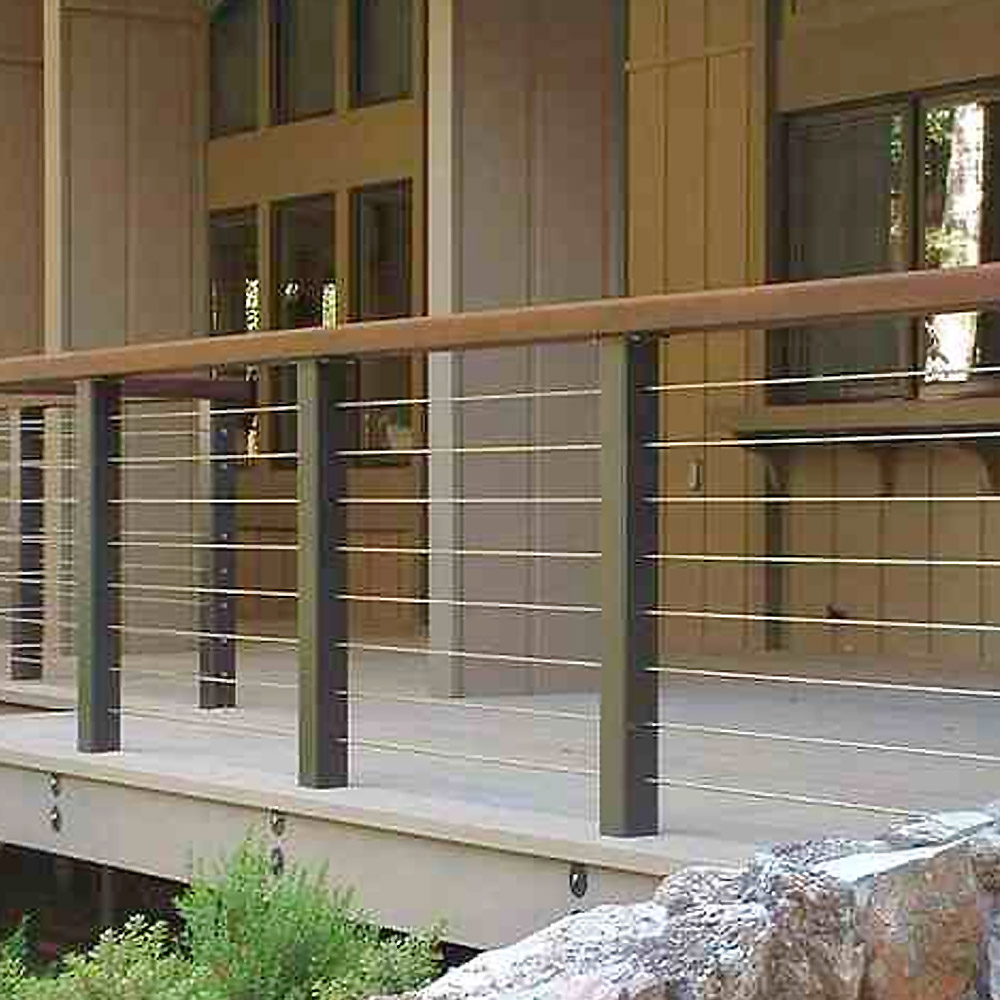
You will also need to determine what types of posts you will be installing the cable railing with. We offer a wide selection of kits specifically made for metal, wood, composite-sleeved, sleeved, and dual-use (wood or metal) applications.
What is the difference between pitched and level railing kits?
Pitched cable railing kits are meant to be used with angled applications. The most common installation for these types of kits is with stairways. These kits are specifically designed for use with these applications and will include all the necessary components for installation in such a way.
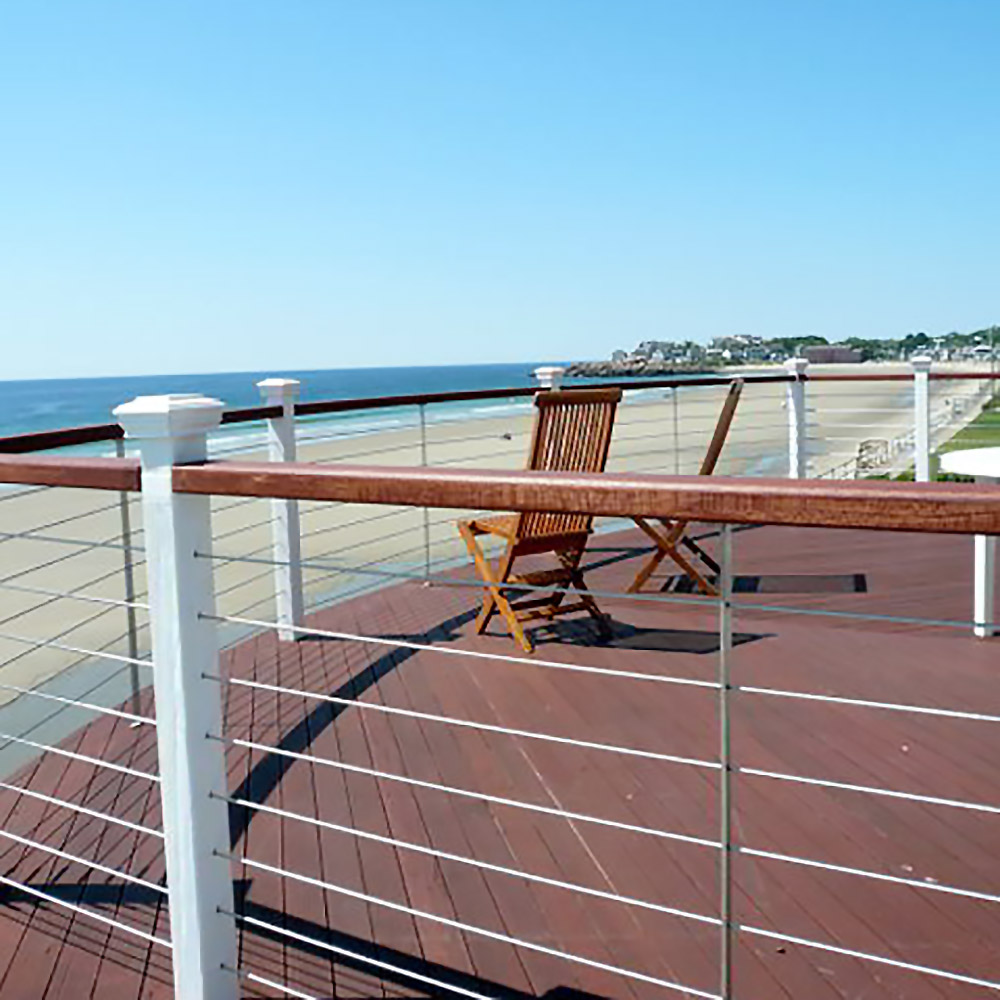
Level cable railing kits are similar to the pitched kits. However, they are meant to be used with level applications only. A common application for these would be along the sides of decks and patios.
Each cable railing kit contains varying components, and the included fittings will only work with the types of installations that they are made for. However, we offer several types of kits designed to be used with both pitched and level applications.
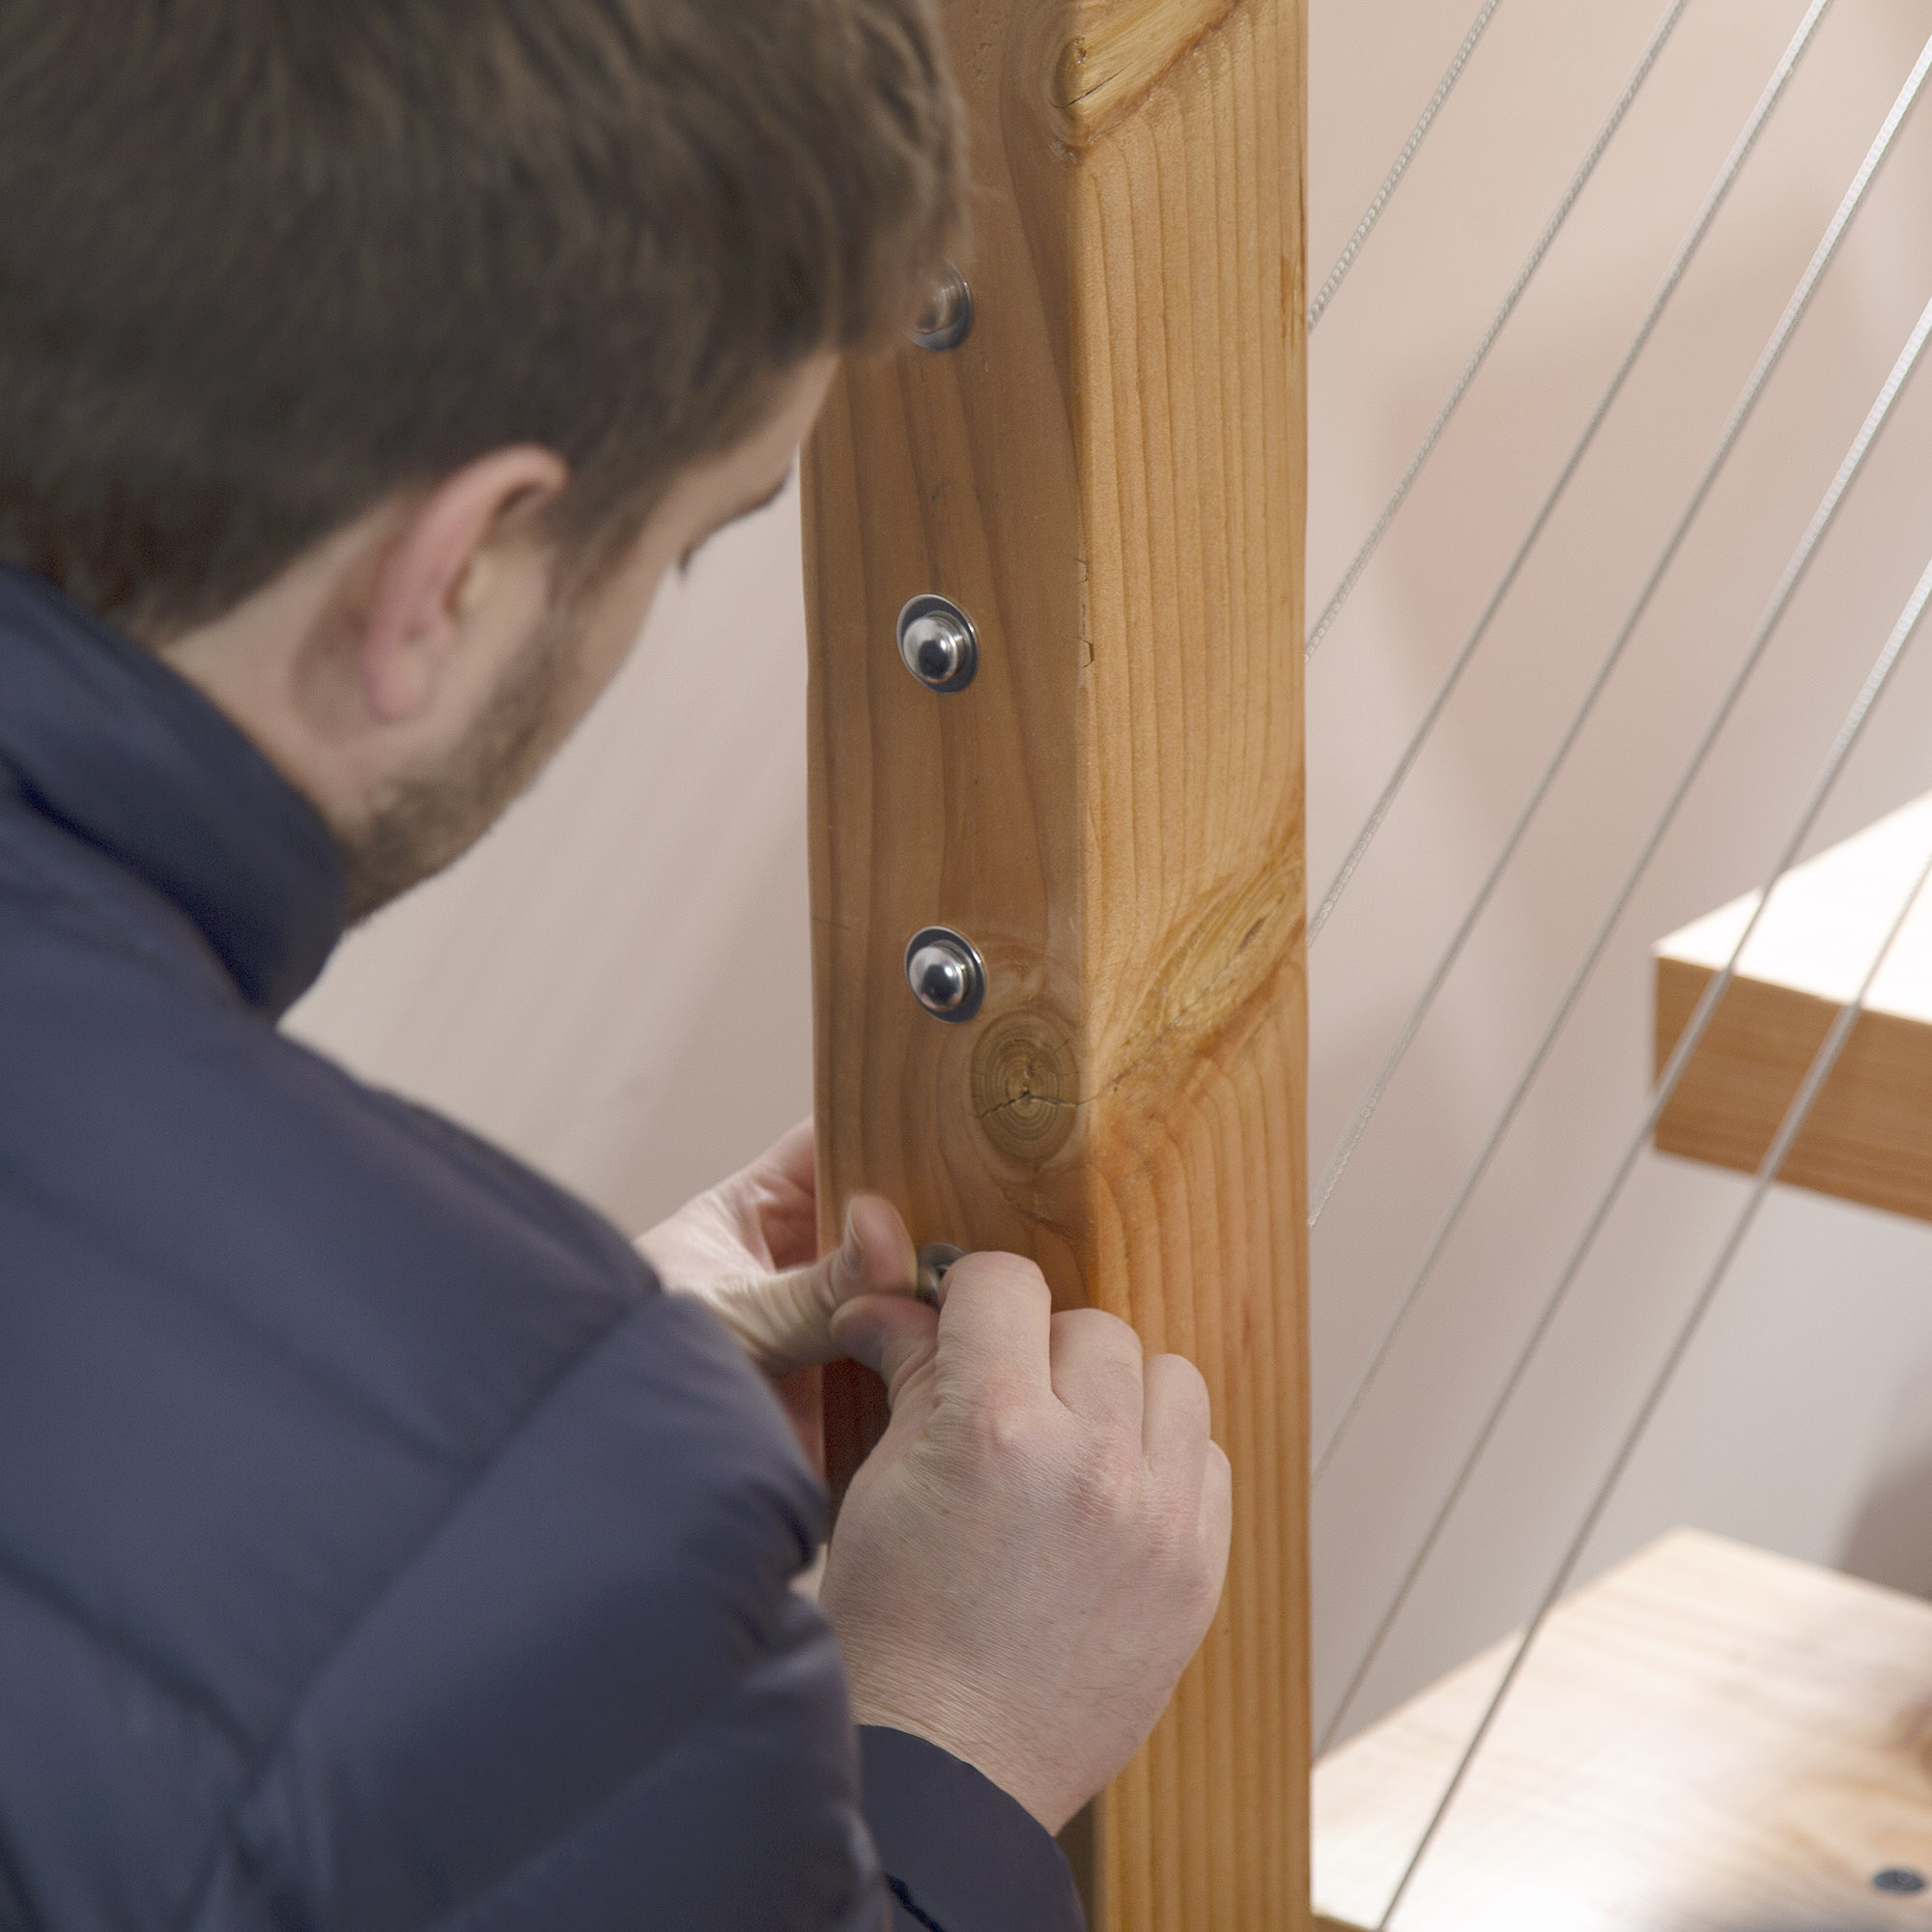
What is the difference between surface mount, through-post mount and surface mount to through-post mounts?
Surface Mounts are designed to be installed into the face of the post. These are typically used when one side of the post cannot be accessed. Through-post mounts are designed to be installed through a hole drilled through the post. These are typically used when you wish to hide the fittings because they are concealed inside the post. These mounts require at least 3-1/2" of open space behind the post to properly start the cable run through the side of the post where the cable enters or exits.
Surface Mount to Through-Post Mounts combine the elements of both mounts. These tricky mounting applications require one fitting to be mounted to the face of one end post and the other to be mounted through the other.
Is my cable railing kit covered under warranty?
Stainless steel hardware and cables are covered by a limited warranty for ten (10) years from receipt to be free from defective materials and artistry.
This warranty does not cover materials that have been abused, neglected, or used in any manner other than for pedestrian railings nor any damage, failure of corrosion resulting from environmental conditions, improper installation, vandalism, insurrection, war, or acts of nature. Learn More About Our Warranty Here.
What does it mean for a cable to be 1x19 type 316?
When we state that a cable is 1x19 Type 316, it simply means that the cable is 19 smaller wires that are twisted in such a way to form 1 cable and is made of Type 316 stainless steel.
Type 316 is the grade of stainless steel used for constructing the cable. Type 316 is an austenitic chromium-nickel stainless steel that contains the addition of molybdenum. By adding molybdenum, the stainless steel has an increased resistance to corrosion, the ability to hold static loads without stretching, and a higher minimum breaking strength (1780 lbs. for 1/8"; 4000 lbs. for 3/16").
Regarding cable railing, 1x19 Type 316 stainless steel is always recommended because of its increased strength, small diameter, and high corrosion resistance.
How tall should cable railing posts be?
The height of cable railing posts depends on building codes and the specific application. Generally, guardrails should be at least 42 inches high for stairs or landings and 36 inches for decks or balconies. Handrails on stairs must be between 34 and 38 inches. The post height must also align with the top rail height for safety and aesthetics. Always consult local codes and professionals for accurate requirements.
How many cables are needed?
For 36-inch-high posts, use 10 horizontal cables, and for 42-inch-high posts, use 12. This configuration ensures the spacing between cables does not exceed 3 1/8 inches, keeping the system compliant with building codes that require no openings larger than 4 inches.
What types of preventative maintenance should I use with my cable railing kit?
To keep your stainless steel cable railing looking as new as the day it was installed, regular maintenance and cleaning should be performed. Inspect the installation on a frequent schedule, taking note of discoloration and stains.
Discoloration can and should be removed by cleaners recommended for stainless steel. We recommend the use of E-Z Clean, a two-part cleaner and protectant. The frequency of use of the product will vary completely depending on your location and climate. You should expect to do regular maintenance to clean and continuously apply the protective waterproof lubricant. Regular maintenance should prove to extend the life of your cable railing system.
Note: Never use steel wool or harsh abrasive elements.
What are the structural requirements necessary for my posts to hold the cable tension?
A minimum size of 4x4 end post is required for wooden posts. Through-post or Surface-Mount type fittings can be used for these applications.
For steel posts, a minimum 1/4" wall is required. Through-post or Surface-Mount type fittings can be used for these applications.
Aluminum posts require additional reinforcement because of the high tension that is applied. Through-post type fittings can only be used for these applications.
For posts with composite sleeves, a minimum size of 4-1/2" sq. is required. Using a lagged fitting and going through the sleeve until you connect to the core underneath is necessary. We offer extended-length lag fittings for these applications.
How do I know which type of fitting is ideal for my desired application?
Looking at each of the different fittings available can be overwhelming when figuring out which is the best for your application. That's why we have created a page strictly devoted to breaking down the purpose that each component in the kit will serve and what application(s) are ideal for it to be used with. Learn More About Fittings Here.
How can I prevent the installed cable from tearing into my wooden post?
This is a common problem, especially in pitched applications with wood posts. To prevent this from happening, you can purchase a Stainless Steel Post Protector Tube. This 3/4" stainless steel tube is wedged into where the cable enters or exits the post and acts as a means of protection by preventing the cable from directly touching the wood.
What are the requirements for spacing my intermediate posts and cable runs?
Intermediate posts play a vital role in supporting the end posts and the cable running through them. International Residential Code (IRC) and International Building Code (IBC) regulations state that a 4" sphere shall not be able to pass through the openings between the cables at any point. Therefore, the frequency of intermediate posts plays a direct part in maintaining ideal cable rigidity.
To comply with this code, our cable railing kits require an intermediate post to be placed no more than every 48", cable spacing center to center should be no more than 3.125" apart, and cable tension should be no less than 225 lbs. The IBC and IRC state these regulations. However, specific city and state rules and regulations may also apply. Check with your local building authorities to learn more. Learn more about the Sphere Pass-Through Requirements Here.
Are cable railing kits safe to have around children?
At first glance, it might appear that railings (guards) with horizontal bars or areas that create a so-called "ladder effect," where a child could put his or her foot, would be an open invitation to danger. But, there is little, if any, evidence that climbable railings are a hazard at all. A study by the National Association of Home Builders (NAHB) Research Center concluded in its report in May 2008 that "the most current and thorough documentation available shows no indication that a problem exists (with climbable guards)"
The report goes on to point out, among other things, that difficult-to-climb barrier designs can create a greater challenge for a child to climb and that it is most likely undesirable to render any environment completely "safe" from children's climbing." Creating a barrier that is not possible to climb may create a safety hazard in the case of an extreme emergency where the only means of escape is to climb over a railing. The NAHB Research Center study was commissioned by the National Ornamental & Miscellaneous Metals Association (NOMMA). That organization has held for years that there is no data to support the contention that climbable guards are a hazard.
After a 3-year study of climbable guards, including 13 open meetings and the NAHB study before it, the International Code Council decided in May 2008 that insufficient data is available to justify changing codes to prohibit the so-called "ladder effect" in railings. A few jurisdictions in the United States still do not permit railings with the "ladder effect," but as the facts become better known, these restrictions are being lifted and codes updated to reflect the reality that climbable guards are not a safety hazard.
Therefore, conventional railings with horizontal elements, including cable railings, can still be incorporated into designs with peace of mind. See Final Report of the CTC Area of Study on Climbable Guards
If you have any further questions, please consider checking out our Glossary of Cable Railing System terms, Fittings Guide, and Manuals. Also, considering returning to our Resources Hub for more informational and instructional content. Or feel free to contact our sales representatives, they are always happy to help!